Showing posts with label prizes. Show all posts

Friday, February 1, 2013

F.F. #14 – With a Twist


* For those who asked, no I didn't make the bead I used n my Death Star earrings. They're bettlenut (sp?) and they just worked out perfectly :D


So long time no chat! Sorry... again... lol

I have nothing to blame but my procrastinating tendencies.

On the up side, I DID get a blog hop in PLUS I managed to get my Christmas tree down … it's still in my living room, BUT it's all boxed up and ready to get hauled back into storage, just as soon as I move crap around in there again.

… that only took me a month to do ;)

Here's to hoping February will see me being a bit more productive! :D

So, you are all no doubt wondering what I've been up to.

Well...I STILL have the reorganizing I started originally back in.. November, I think. I did progress ( sort of) away from my desk and is spread out over my floor where I can access everything to see that it gets where I want it.... see...?
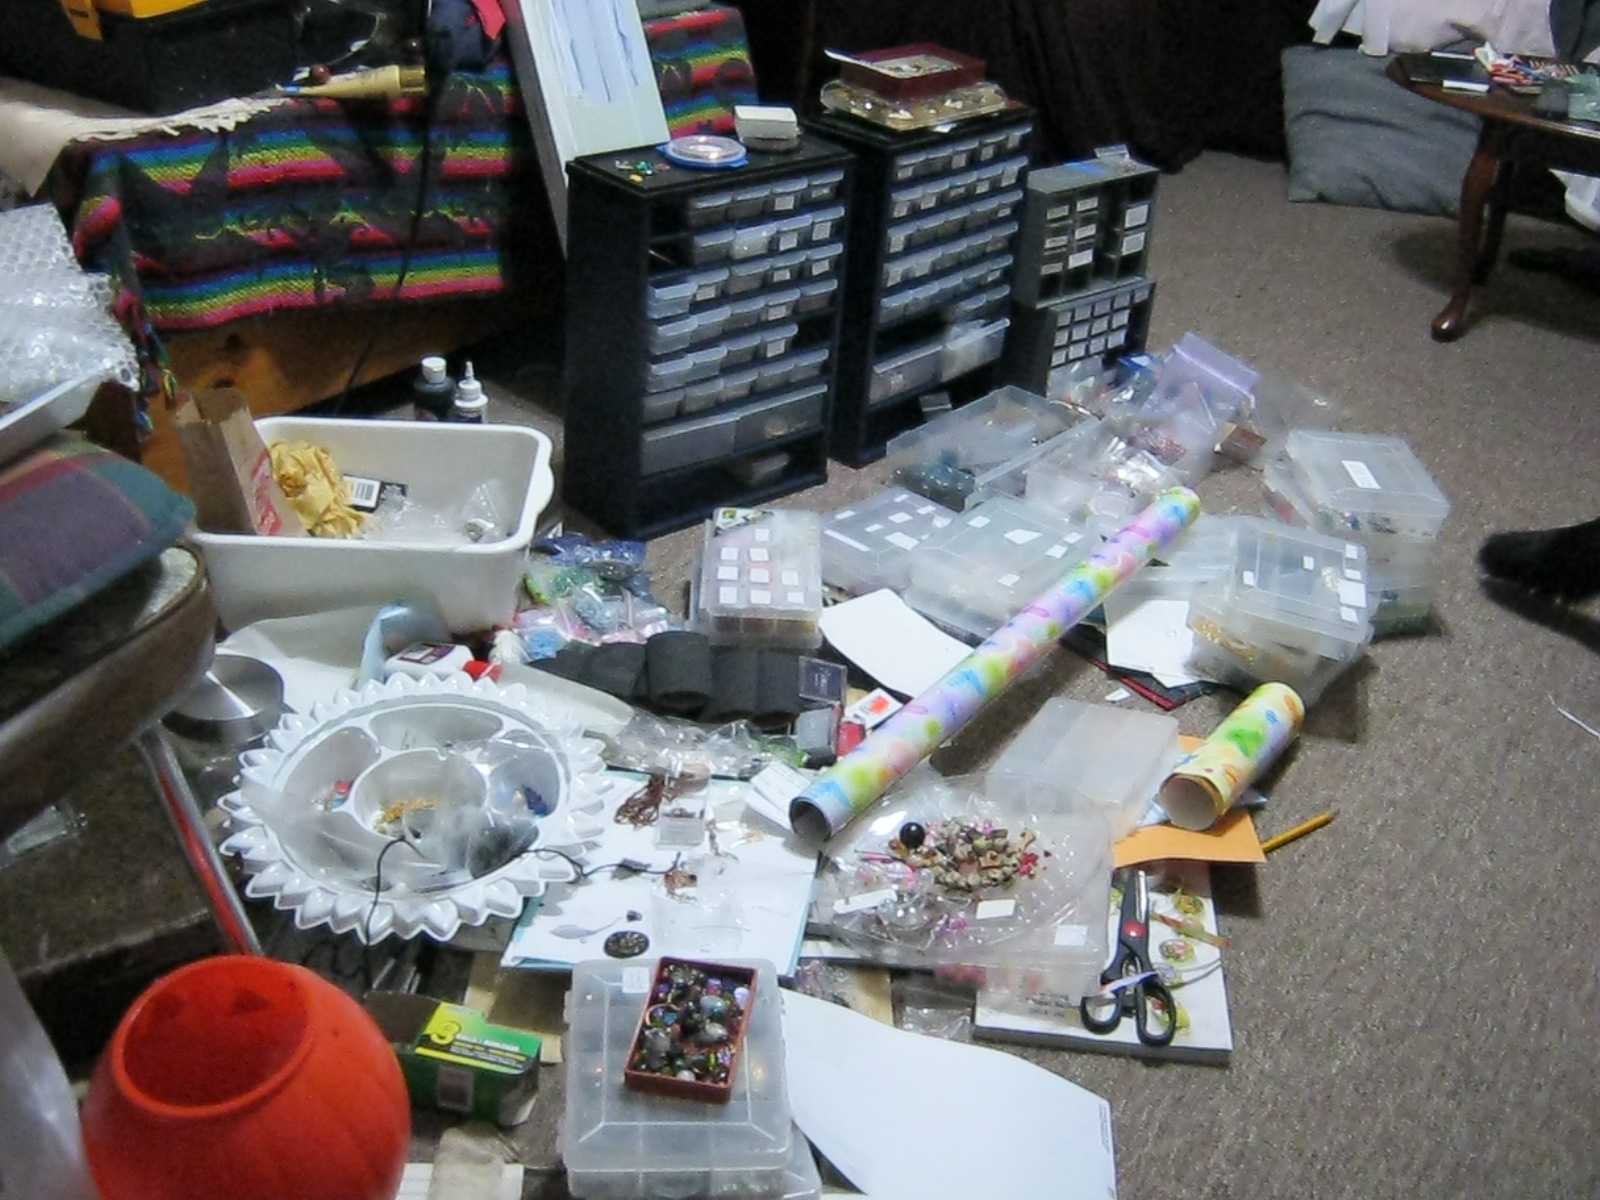
View from my desk....

View form my couch...
That's my Pit .. aka Pit Baby, or Pitters... An no, that jackolantern does not have candy in it... it has empty bead bags... the candy is in the caldron tucked away in the bottom right corner ;) lol

Of course... I get my stone, shell and half my glass sorted, and realize I'm going to need something bigger for my metals... those little gray guys just aren't going to cut it anymore >.< Luckily I managed to catch them on sale again and got the last one in the size I wanted!! Once I finish getting those little drawers all filled and labeled, I have to clear off the desk and shelves and figure out the best place to put them all :) But hey... I'm getting there!

And... while procrastinating over THAT, I created a NEW mess, by recycling some of my bubble mailers :) I only got about a third done when I ran out of glue, but here's what my new butterflies look like...

Pretty new butterflies to travel to your mailbox ;)


For those wondering … and too lazy to go check the rafflecopter widgets to see the name displayed...

1) the winner of the Tori Sophia ear wires was Angela :) She has already received her goodies and no doubt has used them all up by now ;)

2) the winner of F.F. #13 was Shaiha .. and I shall get it in the mail to her soon :)

3) the 'With a Twist' n the title of this post does indeed go with the Freebie Friday giveaway ;)

For those of you who don't like this idea... blame Kashmira... she suggested it ;) lol

The last day of February is World Rare Disease Day ( http://globalgenes.org/world-rare-disease-day/ ) As such, I thought we'd try a little something different with this goodie bundle.

Most of you have heard of the Global Genes Project & their 7000 Bracelets for Hope campaign. Each year, thousands of blue bracelets are made and donated to this group, who then gifts them to the mothers and caregivers of children with rare diseases.

So this round there's a condition … you can only enter if you're willing to do something in exchange for winning ;)

The goodie bundle this month is primarily blues... and whoever wins it, must make and donate one bracelet to the Global Genes Project. They don't have to use all of their prize, they don't even have to use ANY of it... they can use beads from their own stash instead. They just have to make sure their bracelet complies with the groups requirements ( http://globalgenes.org/7000-bracelets-for-hope/ ) :)

Winter Blues Bead soup
Since it's still winter, I'll add some pretty silver snowflake charms to this, as well :)

Think you can make a bracelet to donate? If so, go ahead and enter.


Thursday, January 10, 2013

#100 + Tori Sophia

... hmm... suddenly wish I knew how to do animations and crap... woulda been cool to have exploding fireworks and crap right here...

... post number one hundred on Blogger :)


... and I'm using it to tell you all about something new I'll be doing this year... starting right now, actually :)

I have lots and lots of friends online here who have Etsy, Artfire or FB shops...some for jewelry, some for beads and other goodies. Seeing comments all over FB about driving traffic to the shops, and advertising, etc etc etc... it got me thinking I should go back to doing 'artist features' again.. like I'd started on my old blog. Only this time around, make each feature... special ;)

So here's what I'm doing.

 I contacted five of my shop-owning friends, all of whom I believe are also followers on this blog, actually, come to think of it. Well, no, I contacted FOUR of them about continuing this idea... the lady up today I contacted before hand, just about today ;)  Each month until April or May, I will be featuring one artist and their shop... and hosting a giveaway to go with it. It might be in place of a Freebie Friday ... or in addition too... depends ;) This month, it's 'in addition to' ;) There'll also be a new catch to some of the F.F.'s to come.. starting with Feburary's... that I'll fill you in on later... you can all blame Kashmira for giving me the idea ;)

Okay... off track ... gotta stop rambling...


 I hope most of you know Shelley Graham Turner.


 She's a member of both the FB groups 'Bead Soup Cafe', and 'Creative Bead Chat',  has teamed up with Marlene Cupo to host two rounds of 'The Holiday Bling Blog Hop'...( and I believe I saw mention of a third in the works?), and start a new group called  'MarShell Swaps'.

Plus, Shelley is also the lady who started the 'Pink Hair For Lori' campaign last summer :)

She's witty, sarcastic, fun, and just a great lady to know :) She also has one of the biggest hearts I know of.

And some of the cutest grandkids ;)

Anyhow... back to business ;) She's also pretty talented when it comes to making stuff ;)


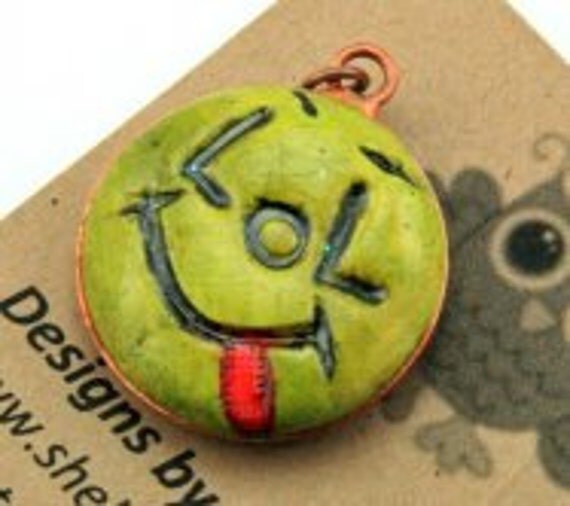
 Have you seen her adorable LOL charms?
Etsy Link
  They are SOOO CUTE!!! I have a purple one... I call him ' Lol' ( pronounced lawl ;) )


 You've probably seen her sand dollar... right?
Etsy Link


How about her new Dressed Up Ear Wires?

Etsy Link


Well I have a surprise for you :)  One lucky person is going to win, not one.... but TEN pairs of  Dressed Up ear wires. All of these...


Makes you want to pull out your beads and start designing earrings for these, doesn't it?

So, anyone who wants a chance to win these pretties, here's what you have to do... ( There's a Rafflecopter widget below to check off each entry you've done. If you can't use rafflecopter, please say so in your entry comments! )

Go to  Tori Sophia  and look at all the goodies. Come back here and leave a comment telling me what your favorite item is. Check it off in rafflecopter... Tada! One entry.

You can get another entry by faving her shop or an item in her shop ( and letting me know in a comment & rafflecopter).

Hmm.. and how about one more entry for sharing a link to her shop on your FB page or blog? Yeah... not a link to this blog & giveaway... Share the link to her Etsy store, Tori Sophia.  And again, leave  comment & rafflecopter check to count it :)


a Rafflecopter giveaway

I'll let this run for a week, then have rafflecopter pick the winner.

IF YOU ARE UNABLE TO USE RAFFLECOPTER -- please let me know. Leave your entries comments below, and state with each one that you are unable to use rafflecopter... , and I'll make sure you're included :)

So now that you have something to look forward to... and drool over... ;) I guess I'll let you all know... that one of my followers has ALREADY  won a little something. Just for being a follower on this blog :) I've got 52 followers here, and after assigning everyone a number... the winner is LISA LODGE ( aka pineridgetreasures, for those searchers for her among my followers ;) ) Lisa,  I'm sending you a little something in the mail... not sharing pictures or anything until you get it ;)

Make sure to drop back in on Saturday for the Memories & Thanks bloghop!


Thursday, November 8, 2012

Post Office Day& Envlope Tutorial

...yup... that's what today was...

Today I spent the entire morning  making envelopes, addressing them, stuffing them, then filling out customs forms.... sixteen of them to be exact. Then I went to the post office, where I handed them all over in order of weight/size to make it quicker... then one of her coworkers helped slap the sticky parts on while she input all the info and weighed them. 

Why so many? Well, I saved up all the giveaway stuff from October to do at once... plus there was one left over from September that didn't get me her info on time, and a couple from just this week that I slipped in there too.

Don't believe me?  Here's SOME of them...I actually did up four or five more after I took this picture.


The giant butterflies are photoshopped in to hide the addresses ;)

So Pam, Kristen, Tiffany, Jami, Kimberly, Marla, Gina, Zan, Rita, Susan, Jennifer, & Beti  .... your giveaway goodies are in that pile there. Along with two prizes for Marlene Cupo's Non-Blogger & Blogger challenge at BSC, a thank you to Marlene for starting it & hosting it, and one PIF.

So all of you I just named, watch for the butterflies in your mailbox... I didn't stick any notes in them to let you know what it is... I was lazy >.< lol So  butterflies = goodies from Skye ;)

AND... since I made all of those, I took pictures to give you a simple tutorial on how to snazz up your mail, or recycle those bubble envelopes :)


    First off, you'll need the following items :


Pretty paper - here I'm using butterfly giftwrap
tape
scissors
gluestick
envelope - I'm using a new one in this photo, but you can use an old one as well... trust me, several of the packages in that photo above are recycled bubble mailers.


Lay your envelope on top of the paper to measure how much you'll need. 

I cut a long strip to fold up from the bottom, leaving the top open.


Take your glue stick and run it around the outer edges on the BACK of the envelope first, then across the middle in an 'x' . I find this gives good coverage, but you can cover the entire envelop if you want.

No, my glue isn't pretty colors...I just photoshopped it to show where the glue is....if you look, you can see that the glue covers MORE than just the colored part.


Place glue side down on the paper, putting the edge of the flap at the edge of the paper. Smooth it down so it sticks firmly. 

Add glue to this side as well, stopping at the edge of the ENVELOPE .. do NOT glue the flap.

Add this point, if you want to, you can fold the side in to make a nice crisp edge. I didn't >.<


Your envelope should look like this. 
Trim the edge around the flap. Fold the sides of the paper in to fit the envelope.  IF you folded the edge inside in the last step, you'll only have the one layer to fold over, and it will be considerably neater. If you didn't (like me), you can trim one side to make it shorter, then fold the longer piece over top. 

I taped all the sides down for security, but if you feel your glue is strong enough, you could just glue them.


 So now all your paper edges are folded and secured, and you have a completely covered envelop. 
Write the addresses out on plain white paper and tape them in place - this lets the address stand out from the picture.
I COMPLETELY cover the address with tape to seal the ink to prevent it from smudging and becoming difficult to read.


You now stuff it with whatever  you're putting in it,  fold and stick the flap ( I tape it down as well... extra secure ;) )   And you've got a pretty package already to go!

If you're using a 'pre-used' envelope, leave about an inch of paper extra to act as the 'new' flap to seal your envelope when it's done :)

Easy Peasy :)  If you have spray adhesive, this would be even easier...I don't ;) I think I'd make waaaay too much of a mess with that.. but that's just me :)

So now you know, if you open your mailbox and see a pretty package with butterflies on it, it's from me :D
I also have rainbow paper with butterflies on it... I used up an entire roll of the blue and white paper today and went to buy more...but they were out >.< so I got the rainbow butterflies instead ;)


~ Skye